How to Use an Espresso Machine: Step-by-Step Guide (2026)Skip to the article
How to Use an Espresso Machine: Step-by-Step Guide
Using an espresso machine gets much easier when you treat it as one repeatable workflow: warm the machine, grind fresh coffee, dose and tamp evenly, pull the shot, steam milk if needed, then clean the brewing and steam paths before residue dries.
John CrestaniEspresso Equipment Specialist
Last Updated
The short version
How do you use an espresso machine?
For a typical semi-automatic espresso machine, the basic order is: heat the machine, grind coffee, fill the portafilter, distribute and tamp, lock it into the group head, start the shot, steam milk if you want a milk drink, then clean the portafilter and steam wand. The exact buttons, warm-up time, filter basket and cleaning routine depend on your model, so use this workflow together with your manufacturer manual.
Fill and warm: Add fresh water, switch on the machine, and let the group head and portafilter heat.
Grind: Grind fresh coffee fine enough for espresso. If the shot gushes, grind finer; if it barely drips, grind coarser.
Dose and distribute: Put coffee into a dry basket and level the grounds before tamping.
Tamp: Compress the puck level and consistently. Clean loose grounds from the basket rim.
Flush and lock in: If your manual recommends a short flush, do it, then secure the portafilter.
Brew: Start the shot immediately and watch time, flow and beverage yield rather than crema alone.
Steam milk: Purge the wand first, texture cold milk, then wipe and purge the wand again.
Clean: Knock out the puck, rinse the basket and portafilter, and follow your model’s backflush/descale schedule.
Technique note: This tutorial describes the common portafilter workflow used by manual and semi-automatic machines. Super-automatic machines handle grinding, dosing, tamping and brewing internally, while lever machines can require a different pressure and pre-infusion routine. Always give your exact model’s manual priority for first setup, temperature controls, cleaning and safety.
The core workflow
Four stages make espresso easier to learn
Most beginner problems come from changing several things at once. Keep the process simple: prepare the machine, prepare the coffee puck, brew and evaluate the shot, then finish with milk and cleanup. If the shot is wrong, change one variable at a time—usually grind size first.
1. Machine preparationFresh water, enough warm-up time, a hot group head, and a clean basket give you a stable starting point.
2. Puck preparationGrind, dose, distribute and tamp so water meets an even bed of coffee instead of finding weak channels.
3. ExtractionStart the brew promptly, observe flow and yield, then use taste plus shot behavior to decide the next adjustment.
4. Milk & cleanupSteam only after the machine is ready for steam, then wipe and purge the wand immediately and rinse coffee oils away.
Equipment examples for learning the espresso workflow
Amazon links in this table are paid links. These are examples selected from your supplied product list to support the tutorial—not a claim that you need to buy new equipment. Prices and availability change, so they are intentionally omitted.
Five espresso machines and tools: where each fits in the learning process
Espresso Mastered:The EspressoFinder.com Guide for Enthusiasts and Professionals
Build a repeatable espresso routine.
Learn which variables actually change extraction, how to compare machines without getting distracted by marketing numbers, and how to make smarter equipment decisions as your technique improves.
Dial in grind, dose and yield with a simple troubleshooting sequence
Understand grinders, portafilters, milk systems and maintenance
Spot accessory and upgrade costs before you buy
Use a clear checklist to compare any espresso setup
Free digital guide · Delivered by email · Privacy Policy
Five useful equipment examples for this workflow
You can learn the process on many different machines. These examples are here to show where a semi-automatic machine, a separate grinder and basic measuring tools fit into the routine. The best learning setup is usually the one you already own and can use consistently.
Best all-in-one practice workflow
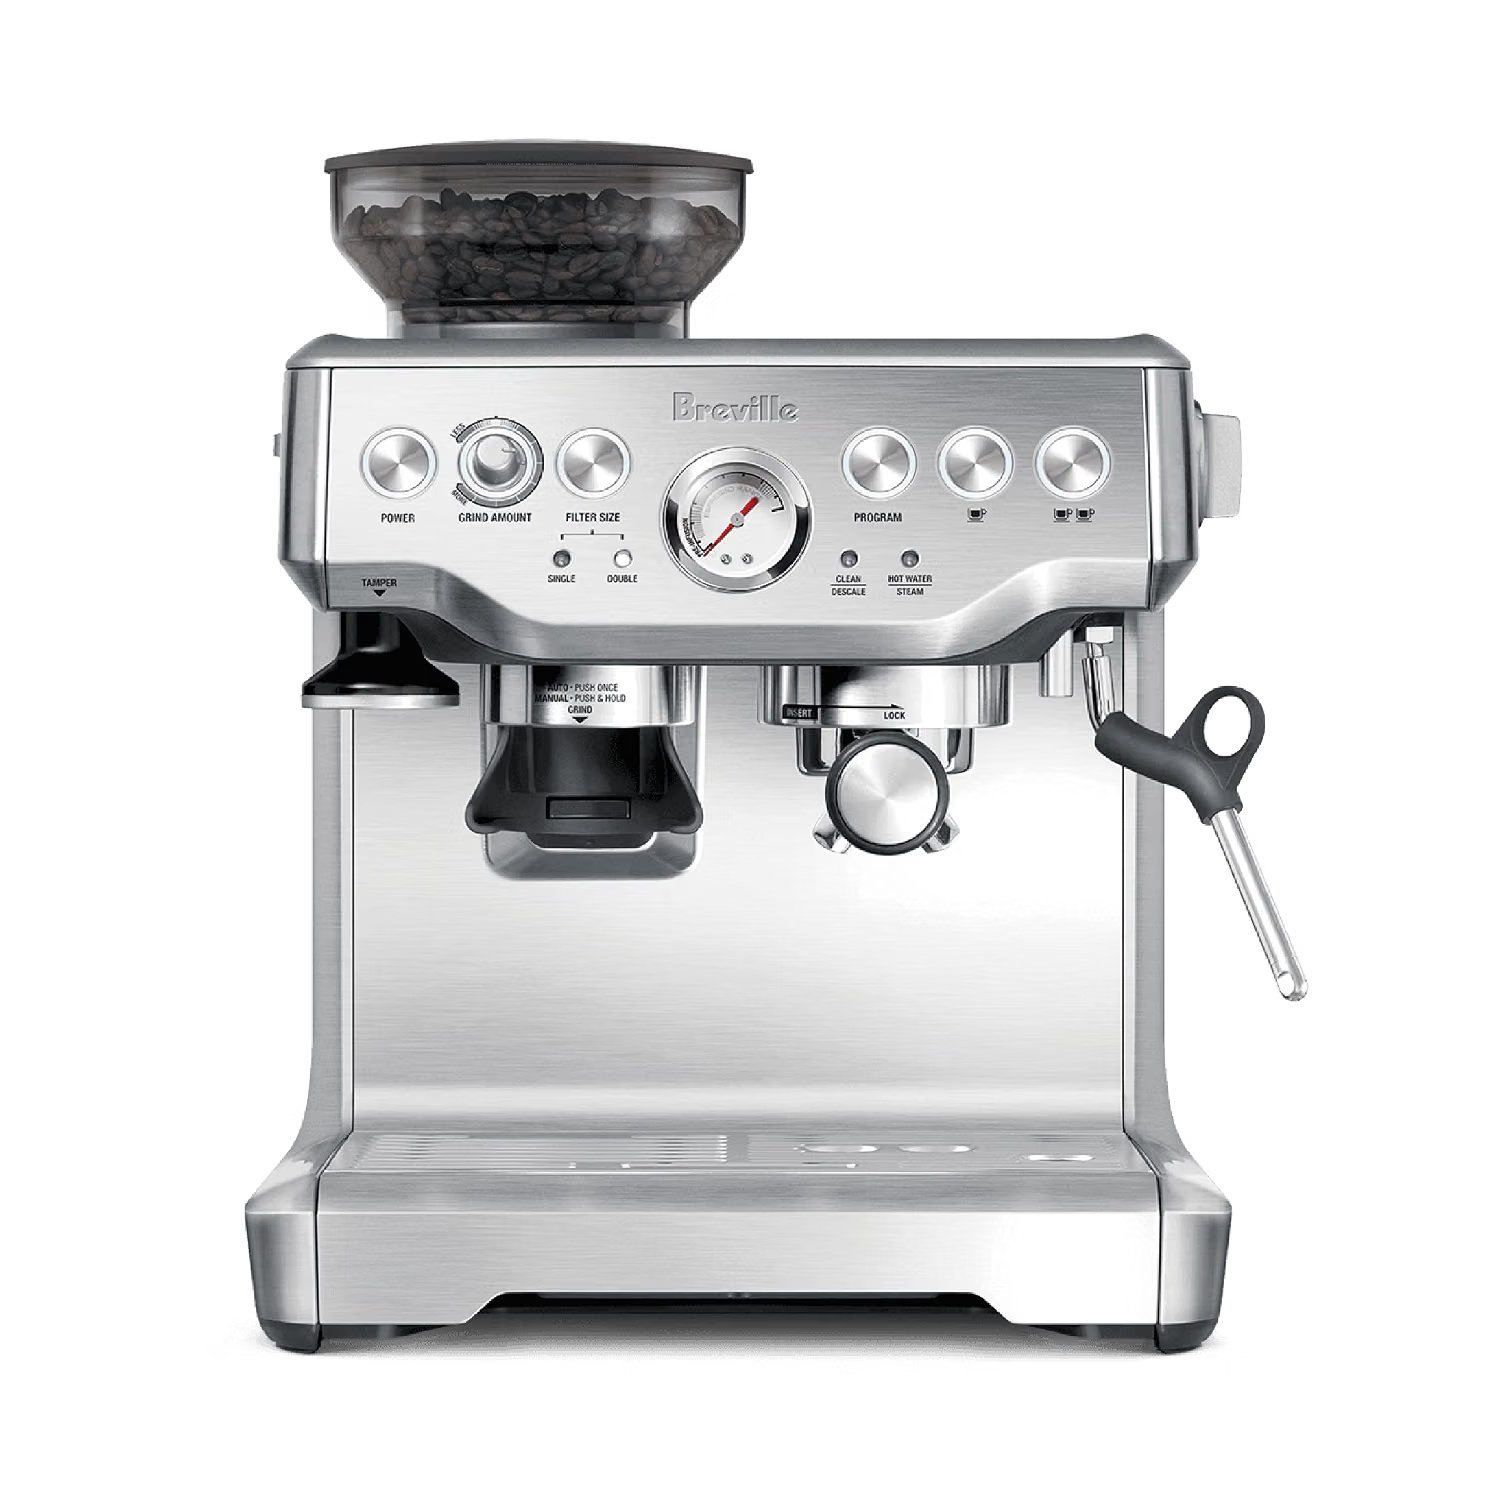
Breville Barista Express
A useful example for learning the full semi-automatic routine in one station: grind, dose, tamp, lock in the portafilter, extract, then steam milk.
Best forBeginners who want to practice the complete puck-prep and milk-steaming workflow without adding a separate grinder.
Skip ifSkip it if you already own a capable espresso grinder or prefer a simpler machine-and-grinder setup that can be upgraded separately.
TypeSemi-automatic
WorkflowGrind → dose → tamp → brew
MilkManual steam wand
Why it helps this tutorial
Keeps grinding and brewing in one workflow, which makes the full sequence easier to learn.
The portafilter-and-steam-wand routine translates well to many other semi-automatic machines.
The reference template already treats this model as a beginner-friendly starting point.
Keep in mind
Integrated systems give you less separation between grinder and machine upgrades.
Exact grind, dose and shot settings still need to be adjusted for the beans you use.
Always follow the machine manual for cleaning cycles and model-specific controls.
Product name and Amazon Special Link are taken from the supplied affiliate sheet. Operating instructions should be checked against the manual for your exact model.
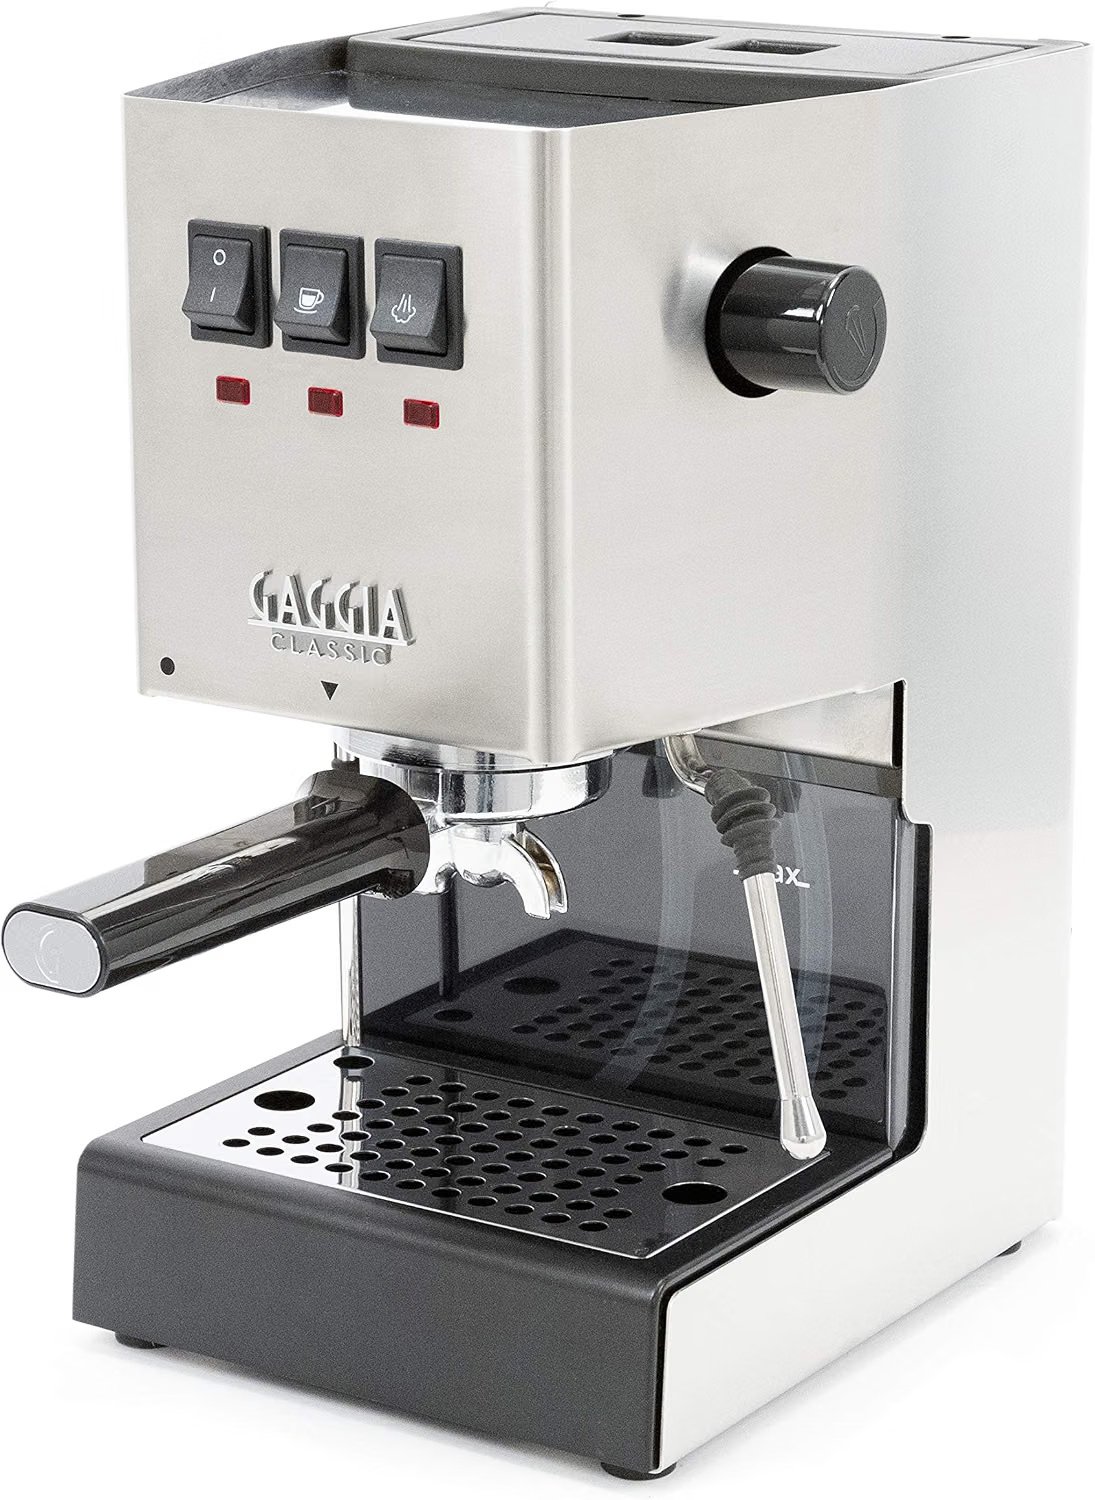
A traditional manual-style machine that puts puck preparation and brew control front and center, making it a clear example for learning the core espresso ritual.
Best forHome baristas who want to understand a classic portafilter workflow and are comfortable using a separate espresso grinder.
Skip ifSkip it if you want one-touch drinks or do not want to manage grind size, dose, tamping and milk texturing yourself.
TypeManual espresso machine
Filter holderStainless steel
MilkProfessional steam wand
Why it helps this tutorial
Gaggia’s own guidance follows the classic sequence: grind, fill the filter holder, tamp evenly, lock in and brew.
The steam wand supports hands-on milk-texturing practice.
A separate grinder lets you change or upgrade the grinder independently.
Keep in mind
You need an espresso-capable grinder because the machine does not solve grinding for you.
Traditional controls demand more practice than a super-automatic machine.
Warm-up, flushing and steam behavior are model-specific, so the manual still matters.
Product name and Amazon Special Link are taken from the supplied affiliate sheet. Operating instructions should be checked against the manual for your exact model.
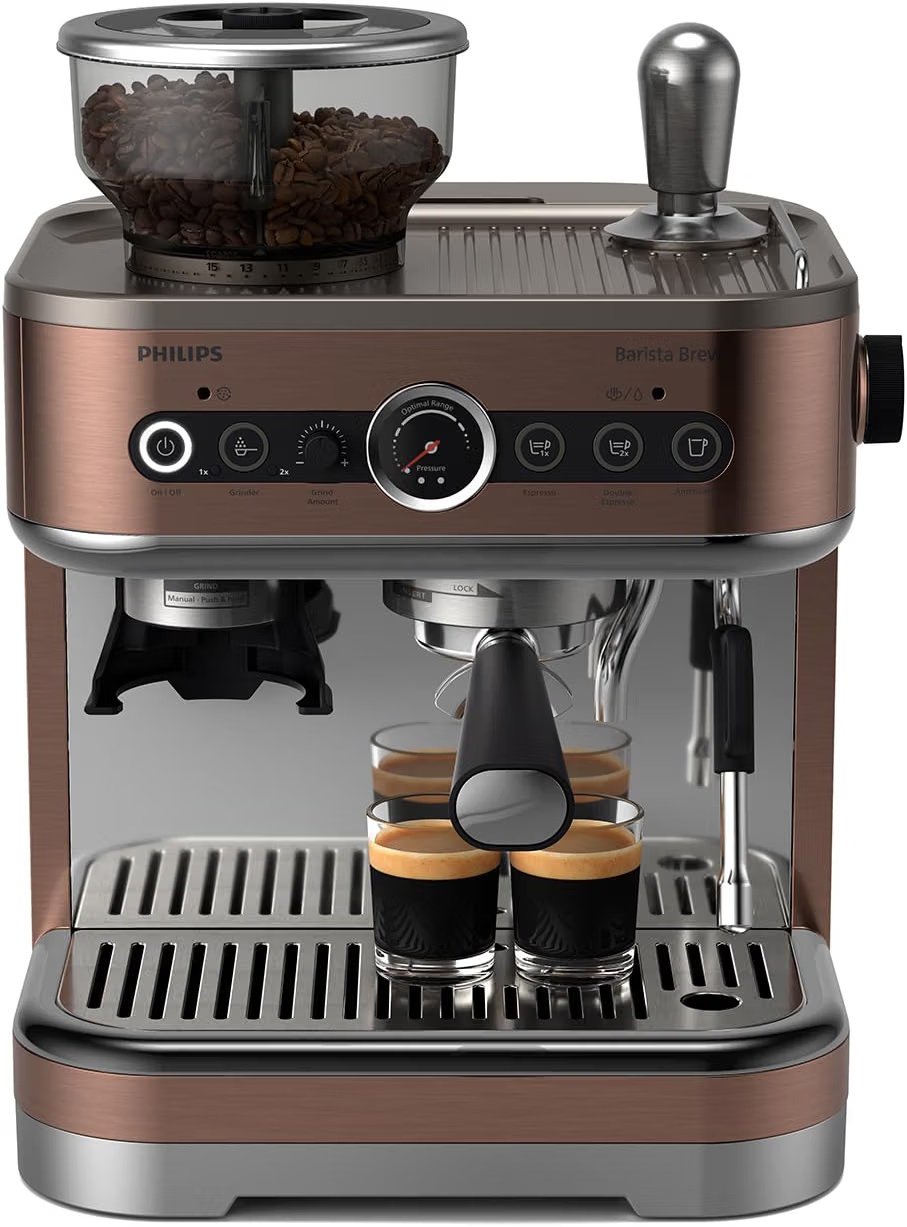
A semi-automatic alternative for readers who want the same core learning loop—prepare the coffee, brew espresso and froth milk—with manufacturer support focused on setup, brewing and cleaning.
Best forReaders who want a semi-automatic machine with a guided support ecosystem for installation, brewing, milk frothing and maintenance.
Skip ifSkip it if you prefer the most traditional, stripped-back manual controls or already have a machine you are learning on.
TypeSemi-automatic
BeveragesSingle & double espresso
WorkflowBrew + milk frothing
Why it helps this tutorial
Philips publishes dedicated how-to support for setup, espresso brewing, milk frothing and cleaning.
The semi-automatic format keeps the user involved in the brewing process.
It is a useful example for showing that button layouts differ even when the underlying workflow is similar.
Keep in mind
Specific settings and button sequences vary by exact Barista Brew model.
A general tutorial cannot replace the quick-start guide for first-time setup.
You still need to dial in grind and puck preparation rather than relying on one universal recipe.
Product name and Amazon Special Link are taken from the supplied affiliate sheet. Operating instructions should be checked against the manual for your exact model.
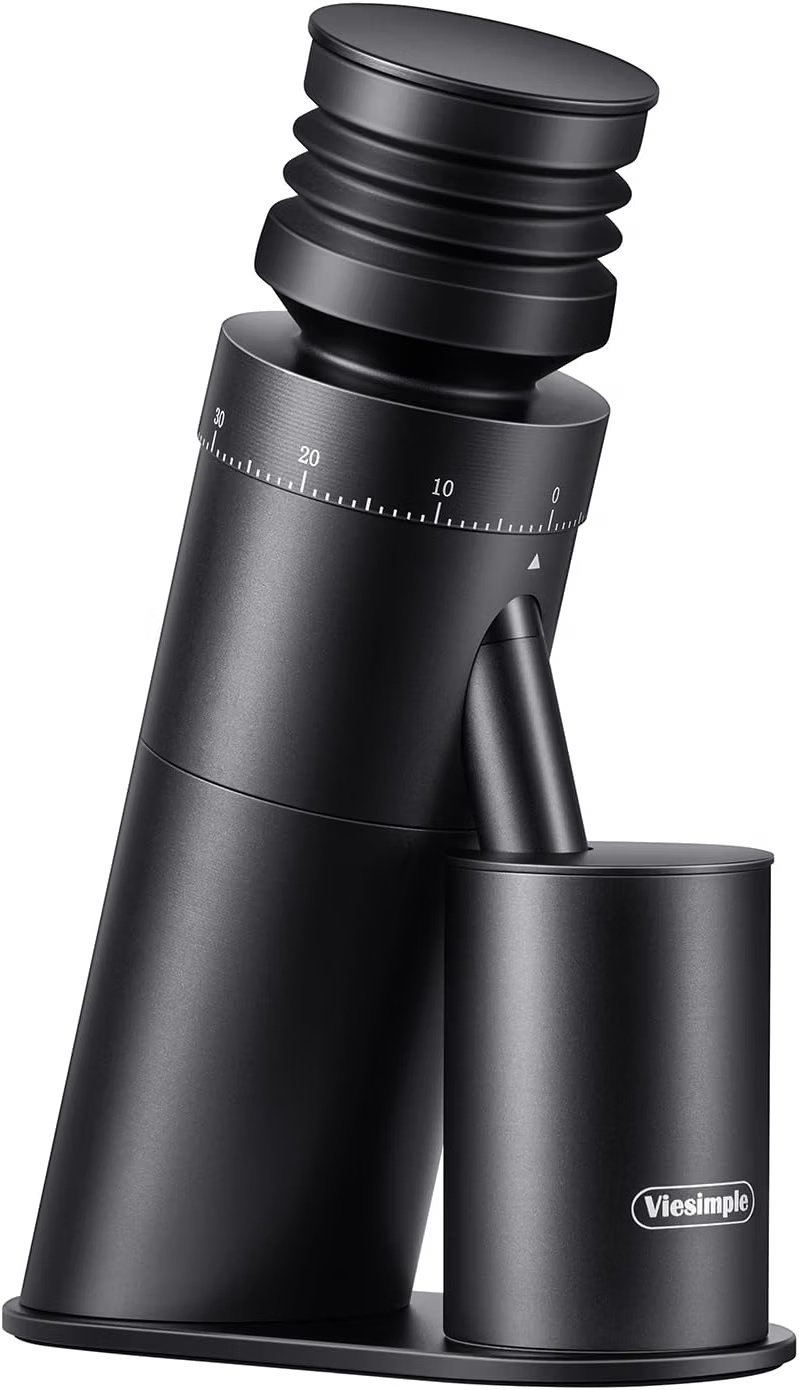
Espresso technique starts before the machine. A burr grinder gives you the adjustment needed to slow down or speed up extraction when a shot runs too fast or too slowly.
Best forAnyone using a semi-automatic or manual machine without a built-in grinder.
Skip ifSkip it if your espresso machine already includes a grinder that gives you enough adjustment for dialing in.
TypeElectric burr grinder
DosingSingle dose
TargetEspresso grinding
Why it helps this tutorial
Makes grind size a controllable variable instead of relying on pre-ground coffee.
Single dosing can make it easier to repeat a measured workflow.
Pairs naturally with traditional machines such as the Gaggia Classic E24.
Keep in mind
It adds another appliance and another cleaning routine.
The supplied product title does not establish every grinder specification, so confirm details on the Amazon listing.
A grinder cannot compensate for poor distribution, uneven tamping or stale beans.
Product name and Amazon Special Link are taken from the supplied affiliate sheet. Operating instructions should be checked against the manual for your exact model.
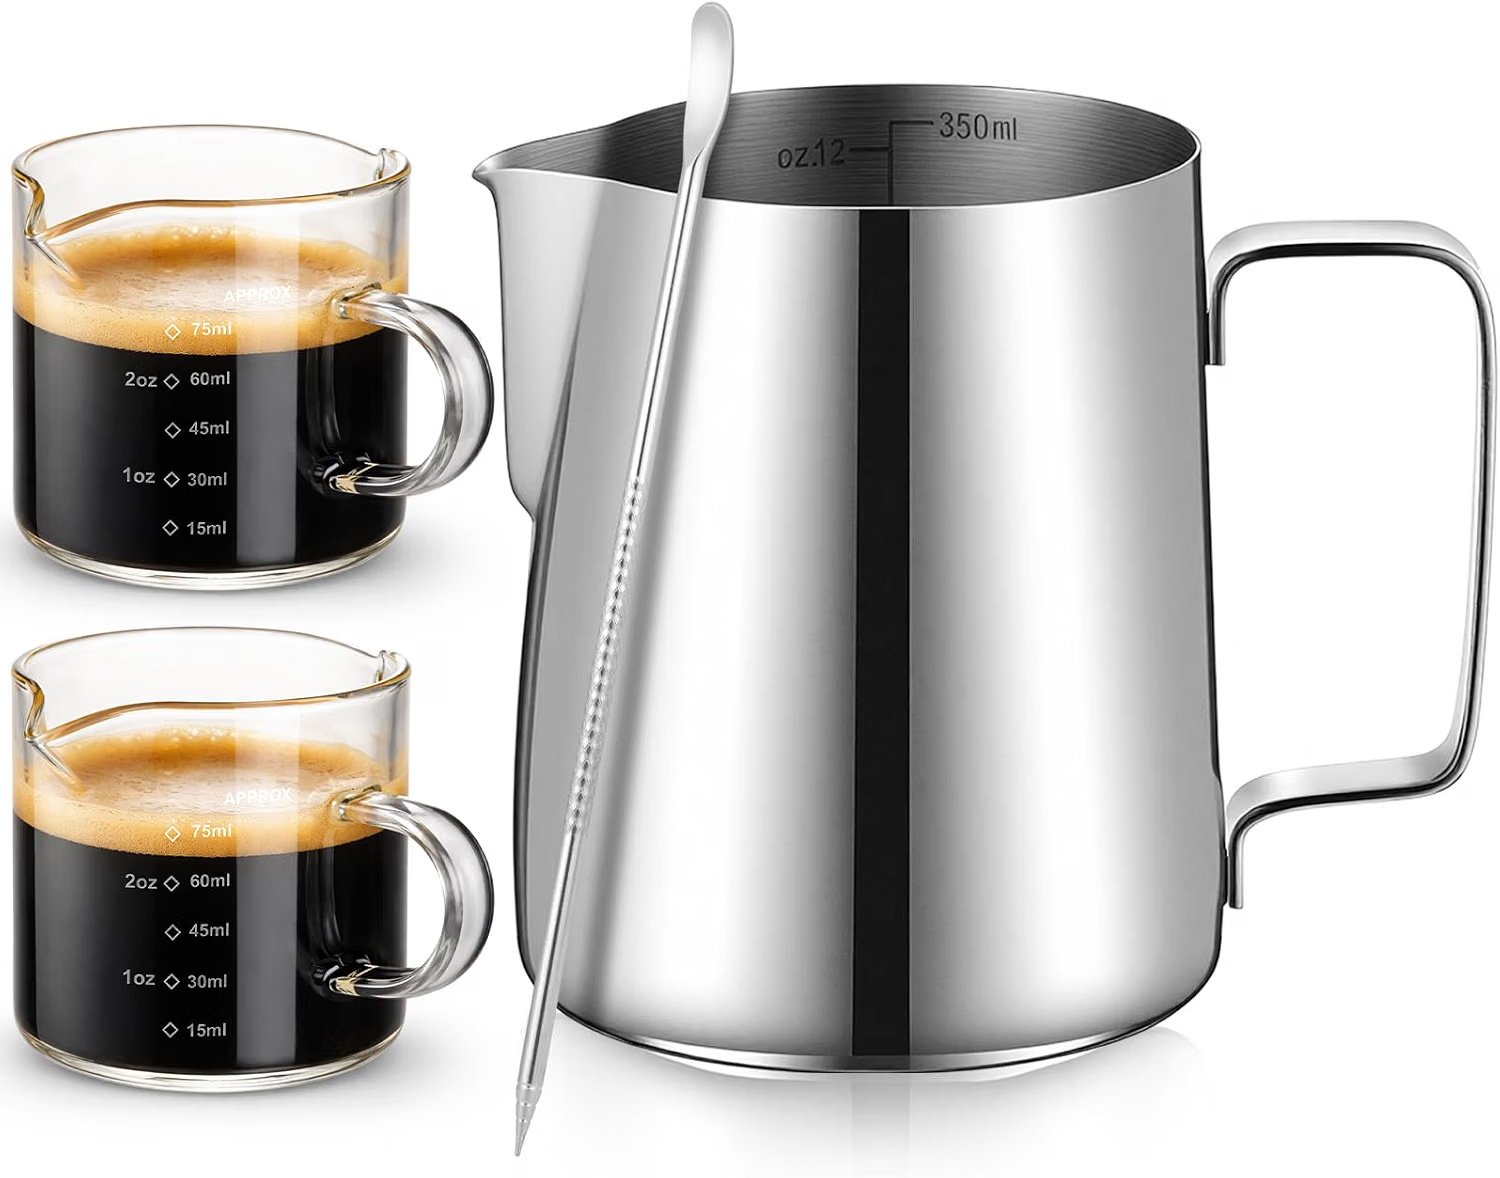
A simple accessory bundle can make the learning process more visible: weigh inputs and outputs, watch the shot in a glass, and practice steaming in a small pitcher.
Best forBeginners who want basic tools for measuring espresso and practicing milk drinks.
Skip ifSkip it if you already own a reliable scale, suitable shot glass and milk pitcher.
Shot cup4 oz glass
Pitcher12 oz
Other toolsScale + latte art pen
Why it helps this tutorial
A scale helps you compare dose and beverage yield instead of judging only by volume.
A shot cup makes it easier to see the flow and stop the brew at your chosen yield.
A milk pitcher is essential if you plan to practice cappuccinos or lattes.
Keep in mind
The bundle is optional; the machine can still brew espresso without latte-art tools.
Included tool quality and scale performance should be checked on the live listing.
Accessory kits do not replace proper cleaning brushes or machine-specific maintenance supplies.
Product name and Amazon Special Link are taken from the supplied affiliate sheet. Operating instructions should be checked against the manual for your exact model.
How to use a semi-automatic espresso machine from start to finish
1. Fill the tank and warm everything
Use fresh, non-sparkling water that is appropriate for your machine. Switch the machine on and give it enough time to reach brewing temperature. Keep the portafilter locked in while warming when your manual recommends it, and preheat the cup with hot water. Water quality also affects scale, so see our coffee water filtration guide.
2. Grind fresh coffee
Espresso usually needs a fine grind, but there is no universal grinder number. Start in your grinder’s espresso range. If the finished shot races through and tastes thin or sour, make the grind finer; if it chokes or drips extremely slowly, go coarser. A separate grinder gives you more control—our single-dose coffee grinder guide explains that workflow.
3. Dose into a dry basket
Make sure the filter basket is dry before adding coffee. Use the basket size your machine recommends and, if possible, weigh the dose so you can repeat it. Avoid overfilling: the puck needs enough headroom for the group head and shower screen.
4. Distribute, then tamp level
Level the grounds before tamping so one side is not denser than the other. Tamp straight down with steady, repeatable pressure; consistency and levelness matter more than chasing an extreme force number. Brush loose grounds from the rim so the portafilter can seal. See the full espresso tamping guide for puck-prep detail.
5. Flush if your manual calls for it
Some machines benefit from a short water flush before extraction to clear residue or stabilize the group. Others manage temperature differently. Follow the model manual, then lock the portafilter firmly into the group head and place your cup or scale underneath.
6. Start the shot and watch the yield
Begin brewing soon after locking in the portafilter. Many beginners use time as a clue, but taste and beverage yield are more useful than a stopwatch by itself. A common starting point is roughly a 1:2 brew ratio by weight, then adjust for your coffee and basket. A dedicated espresso shot glass can help you watch the flow, while a scale makes the result easier to repeat.
7. Steam milk for lattes or cappuccinos
Purge condensation from the steam wand first. Start with cold milk in a pitcher, keep the tip close to the surface long enough to introduce the amount of air you want, then position it slightly deeper to create a rolling vortex and heat the milk evenly. When finished, wipe the wand immediately and purge it again before milk dries inside the tip.
8. Clean before coffee oils dry
Remove the portafilter, knock out the puck, rinse the basket and flush coffee residue from the group as your manual allows. Empty and rinse the drip tray regularly. Use the manufacturer’s schedule for backflushing, detergent cleaning, water-filter replacement and descaling; these procedures differ by machine.
How to dial in the next shot
Change one variable at a time. If a shot is much too fast, start by grinding finer. If it is much too slow, grind coarser. If the speed is reasonable but the cup still tastes wrong, then experiment with dose, yield, water temperature settings (if available) and the coffee itself. Avoid using pump-pressure marketing numbers as your main dial-in target.
Use the dose range intended for your exact filter basket rather than forcing one universal number. If you have a scale, weigh the coffee so you can repeat successful shots. Overfilling can cause the puck to contact the shower screen, while underfilling can make puck preparation harder.
How hard should I tamp espresso?
Tamp firmly enough to create a level, compact puck, but prioritize consistency and a level surface over chasing a specific maximum force. Once the bed is compressed, pressing dramatically harder usually does less than improving distribution or grind size.
How long should an espresso shot take?
Shot time is a diagnostic clue, not a universal pass/fail rule. Many traditional recipes land in the broad neighborhood of the mid-20-second range, but basket size, dose, roast, pre-infusion and target yield can move that number. Judge time together with beverage weight and taste.
Why is my espresso watery or sour?
The shot may be under-extracted. If it also runs very quickly, try a finer grind first. Also check that the coffee is fresh, the basket is appropriately filled, the puck is evenly prepared, and the machine has fully warmed.
Why is my espresso bitter or dripping too slowly?
The shot may be over-extracted or the puck may be restricting flow too much. If the machine is barely dripping, make the grind coarser. Also check dose, basket headroom and whether the filter basket is clogged.
Do I have to steam milk after brewing?
No. For straight espresso, stop after brewing and cleanup. For milk drinks, the exact brew-versus-steam order depends on the machine. Single-boiler machines may need time to switch temperatures, while dual-boiler designs can manage brewing and steaming differently.
Should I clean the steam wand after every drink?
Yes. Wipe the wand immediately after steaming and purge it according to the manufacturer instructions so milk does not bake onto the outside or remain inside the tip.
Is a 20-bar espresso machine easier to use?
Not necessarily. The pump’s maximum pressure rating does not tell you how easy the workflow will be or how well the machine controls extraction at the coffee puck. Grinder quality, puck preparation, temperature stability, controls and cleaning design are more useful day-to-day factors. See our 20-bar espresso machine guide for more context.
Recommended next
Continue your research
Continue with the parts, puck-prep and grinder guides that make the espresso workflow easier to understand and repeat.