Espresso Tamping: How to Tamp Espresso Correctly + 5 Tools (2026)Skip to the article
Espresso Tamping: How to Tamp Espresso Correctly in 2026
A good tamp is level, repeatable, and matched to the basket—not a test of brute strength. This guide explains the correct puck-prep order, how tamper sizing works, what pressure really needs to accomplish, and which tools from your supplied product list fit different workflows.
John CrestaniEspresso Equipment Specialist
Last Updated
The short version
What is the correct way to tamp espresso?
Distribute the coffee evenly first, place the portafilter on a stable surface, keep the tamper level, press straight down until the puck is fully compacted, then stop. Consistency and levelness matter more than chasing one universal pressure number. Use a tamper that actually fits your basket, and change grind size or dose—not random tamping force—when dialing in a shot.
Testing transparency: This is a research-based guide using your supplied product titles, exact affiliate links, manufacturer sizing guidance, and established puck-prep principles. It is not a hands-on laboratory comparison. Where the supplied data does not establish a size, material, bundle component, or performance claim, the page says to verify it rather than guessing.
How we evaluated
A good tamping tool solves fit and consistency first
The tools are compared by four practical criteria: basket fit, ability to keep the tamp level and repeatable, how well they support the full puck-prep sequence, and how much extra complexity they add. Breville’s tamping guidance emphasizes using the correct size and keeping the tamper level; the broader workflow also depends on even distribution before the final press.
Basket fitA tamper must fit inside the basket with minimal unusable edge gap and no binding.
Level repeatabilitySpring or self-leveling features can help, but technique still matters.
Puck-prep workflowWDT and distribution happen before tamping; a tamper cannot repair badly distributed grounds.
Ownership frictionConsider storage, extra accessories, counter space, cleaning and whether you already own overlapping tools.
Espresso tamping tools compared
Amazon links in this table are paid links. Prices and availability change frequently, so this table intentionally does not display them. On a phone, swipe sideways to see every column.
Five tamping tools or workflow alternatives: fit, use case and main tradeoff
Espresso Mastered:The EspressoFinder.com Guide for Enthusiasts and Professionals
Choose smarter. Brew better from day one.
Pressure numbers and long feature lists can make almost every machine look impressive. This practical guide shows you what actually affects taste, workflow, and long-term value—before you spend your money.
Separate useful specifications from marketing noise
Match the grinder, milk system, and learning curve to your routine
Spot hidden accessory, cleaning, and upgrade costs
Use a clear checklist to compare any espresso machine
Free digital guide · Delivered by email · Privacy Policy
Espresso tamping technique: the repeatable five-step method
Tamping works best as one step in a sequence. If you are still learning the machine itself, read our how to use an espresso machine guide alongside this section.
1. Dial in the grind first
Use an espresso-capable grinder and adjust grind size to control flow. Tamping should stay consistent while you dial in. If your grinder is the weak link, see our budget espresso grinder guide.
2. Distribute before tamping
Level the coffee bed and break up clumps before the final press. WDT is a distribution step, not something to do after tamping.
3. Keep the tamper level
Set the portafilter on a stable surface, align the tamper with the basket, and press perpendicular to the coffee bed. A visibly tilted puck is more concerning than a small difference in force.
4. Press until the puck is compact
Use firm, controlled pressure and stop once additional force is no longer meaningfully compressing the bed. Calibrated tampers can make that stopping point easier to repeat.
5. Keep the variables separate
When a shot runs fast or slow, change grind or dose first while keeping your tamp consistent. Use a shot glass or measuring setup if it helps you observe output more clearly.
Know your portafilter size
“51 mm,” “54 mm” and “58 mm” describe size families, but precision tampers may be slightly smaller to fit inside the basket. Our espresso portafilter guide explains the component in more detail.
Five tamping tools and alternatives, with the tradeoffs explained
There is no universal winner because the basket size comes first. A 53.3 mm tamper can be excellent in the right Breville-style basket and completely unusable in a 51 mm or 58 mm setup.
Best dedicated tamper
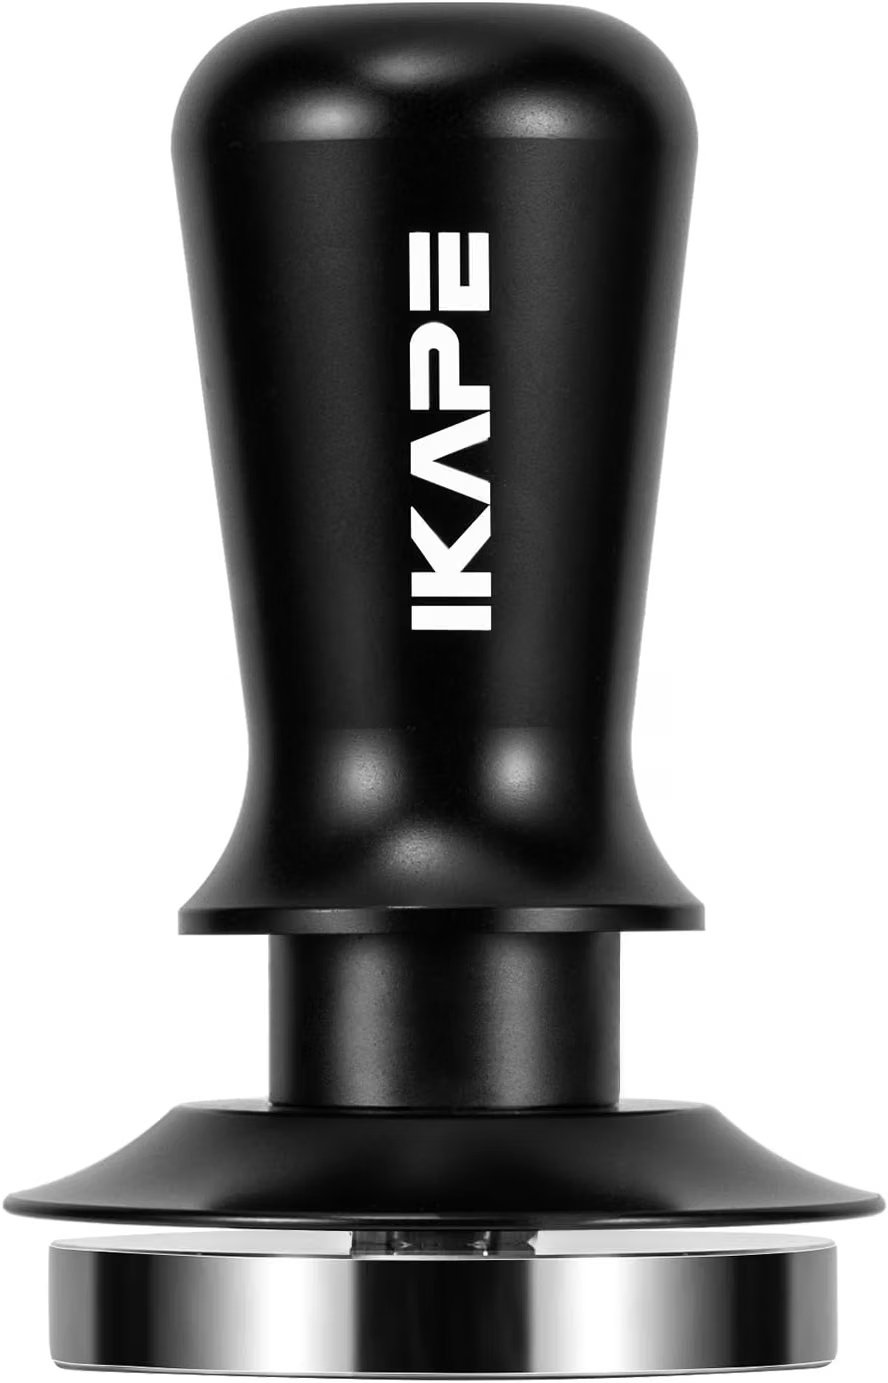
1. IKAPE 53.3mm Calibrated Espresso Tamper
The most focused choice in your supplied product list for Breville-style 54 mm baskets: a 53.3 mm, spring-loaded tamper designed to make the final press more repeatable.
Buy it ifYou use a compatible Breville 54 mm basket and want a dedicated calibrated tamper rather than a multi-tool kit.
Skip it ifYour basket is 51 mm or 58 mm, or you have not measured the actual inside diameter of your basket.
For espresso tamping, fit and levelness matter before extra force. This IKAPE listing is specifically a 53.3 mm tamper for Breville-series 54 mm portafilter baskets, with a calibrated spring-loaded mechanism and a threaded stainless-steel base. That makes it the cleanest match here for someone who already owns the other puck-prep tools and mainly wants a more repeatable final tamp.
IKAPE’s manufacturer guidance offers 53.3 mm as its precision option for many 54 mm Breville/Sage baskets and describes calibrated spring models around a repeatable pressure target. Treat that as compatibility guidance rather than proof that every 54 mm basket is identical—basket tolerances and aftermarket parts vary, so confirm fit before ordering.
Size53.3 mm
MechanismCalibrated spring-loaded
Listed fitBreville 54 mm baskets
What we like
Dedicated tool keeps the workflow simple
53.3 mm sizing targets a close fit in many Breville 54 mm baskets
Spring-loaded design is intended to improve repeatability
What to consider
Not a universal size
Threaded base is a preference rather than a guaranteed taste upgrade
You still need good distribution before tamping
Specification basis: supplied Amazon listing title plus IKAPE manufacturer sizing guidance. Confirm the exact variant on Amazon before purchase.
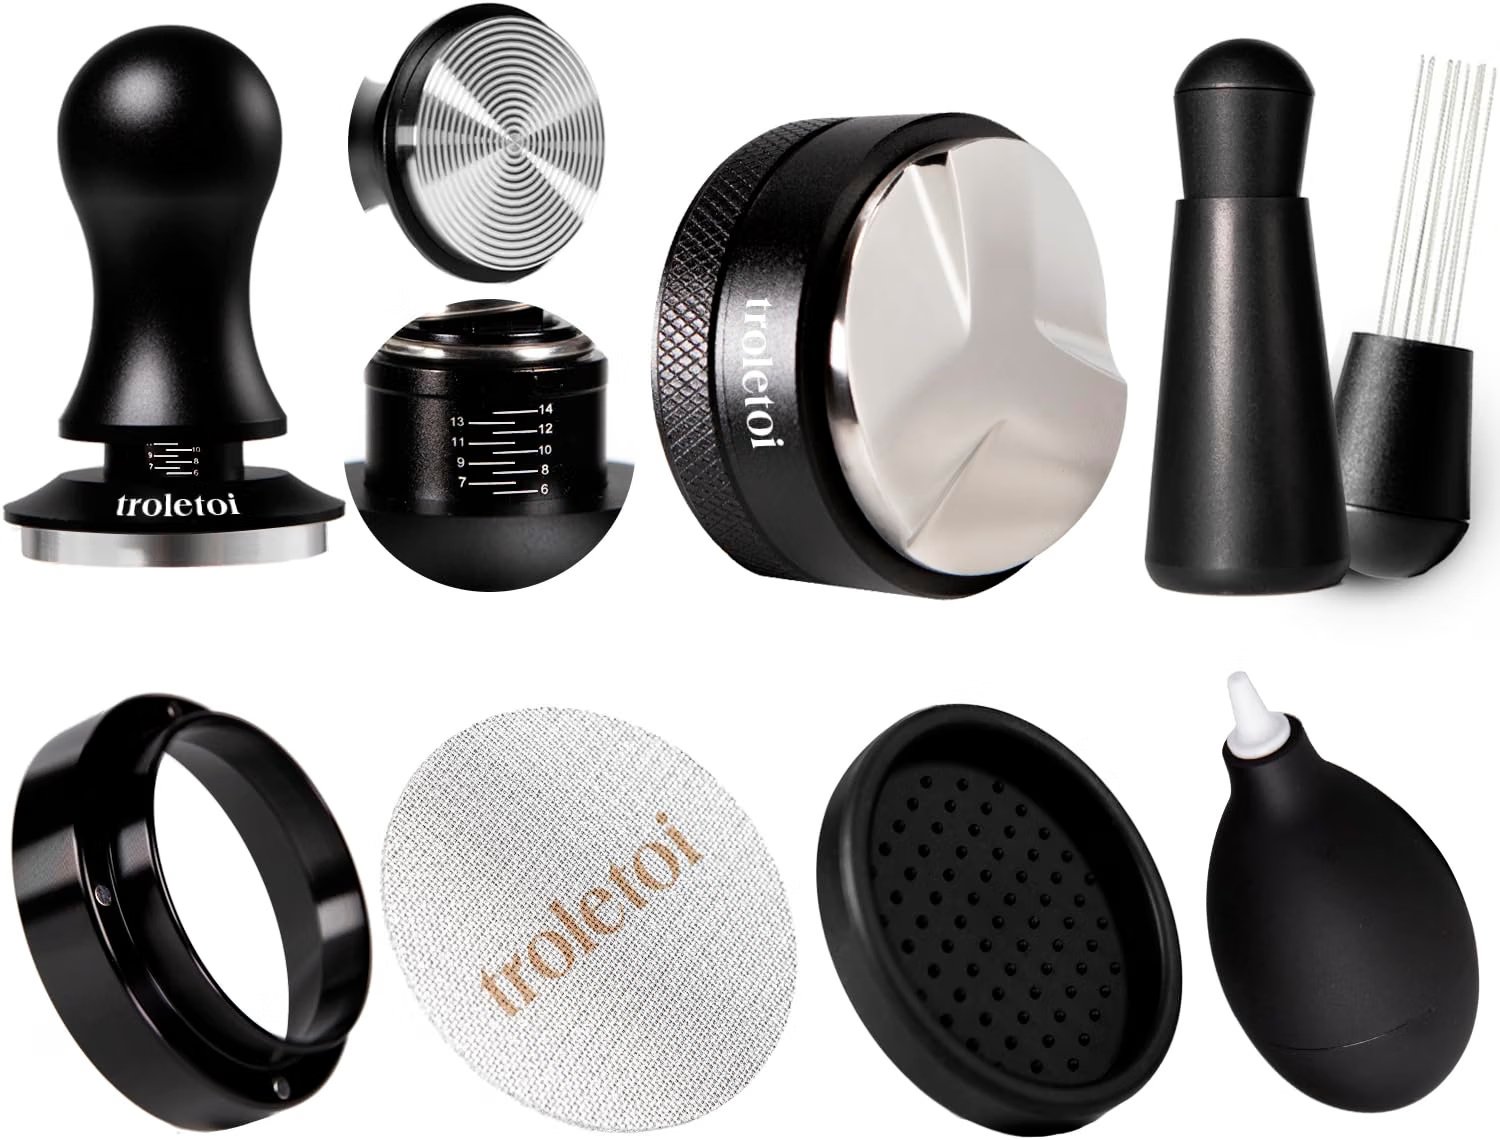
A practical all-in-one route for Breville 54 mm owners who want distribution, dosing, WDT and tamping tools in one purchase.
Buy it ifYou are building a puck-prep setup from scratch and want the listed 53.3 mm tamper, distributor, puck screen, dosing funnel and WDT tool together.
Skip it ifYou already own most of these accessories or prefer to choose each tool separately.
Tamping is only the final compression step. If the grounds are clumped or uneven before the tamper touches them, a perfectly level press cannot fully undo that distribution problem. This seven-piece kit is relevant because the supplied listing explicitly combines a 53.3 mm tamper with a coffee distributor, puck screen, dosing funnel and WDT tool for Breville 54 mm machines and portafilters.
For a new home-barista setup, that can reduce compatibility guesswork and keep the workflow in one size family. The tradeoff is duplication: buyers who already own a good WDT tool, funnel or puck screen may be paying for pieces they do not need. Verify the current listing photos and included-piece list because bundle contents can change.
Tamper53.3 mm
Prep toolsDistributor + WDT listed
Listed fitBreville 54 mm
What we like
Covers several steps before and after tamping
53.3 mm tamper is listed for Breville 54 mm setups
Useful starter bundle for a new puck-prep station
What to consider
More pieces to store and clean
May duplicate tools you already own
Bundle contents should be rechecked on the live listing
Specification basis: supplied Amazon listing title. Exact included components and compatibility should be confirmed on the current listing.
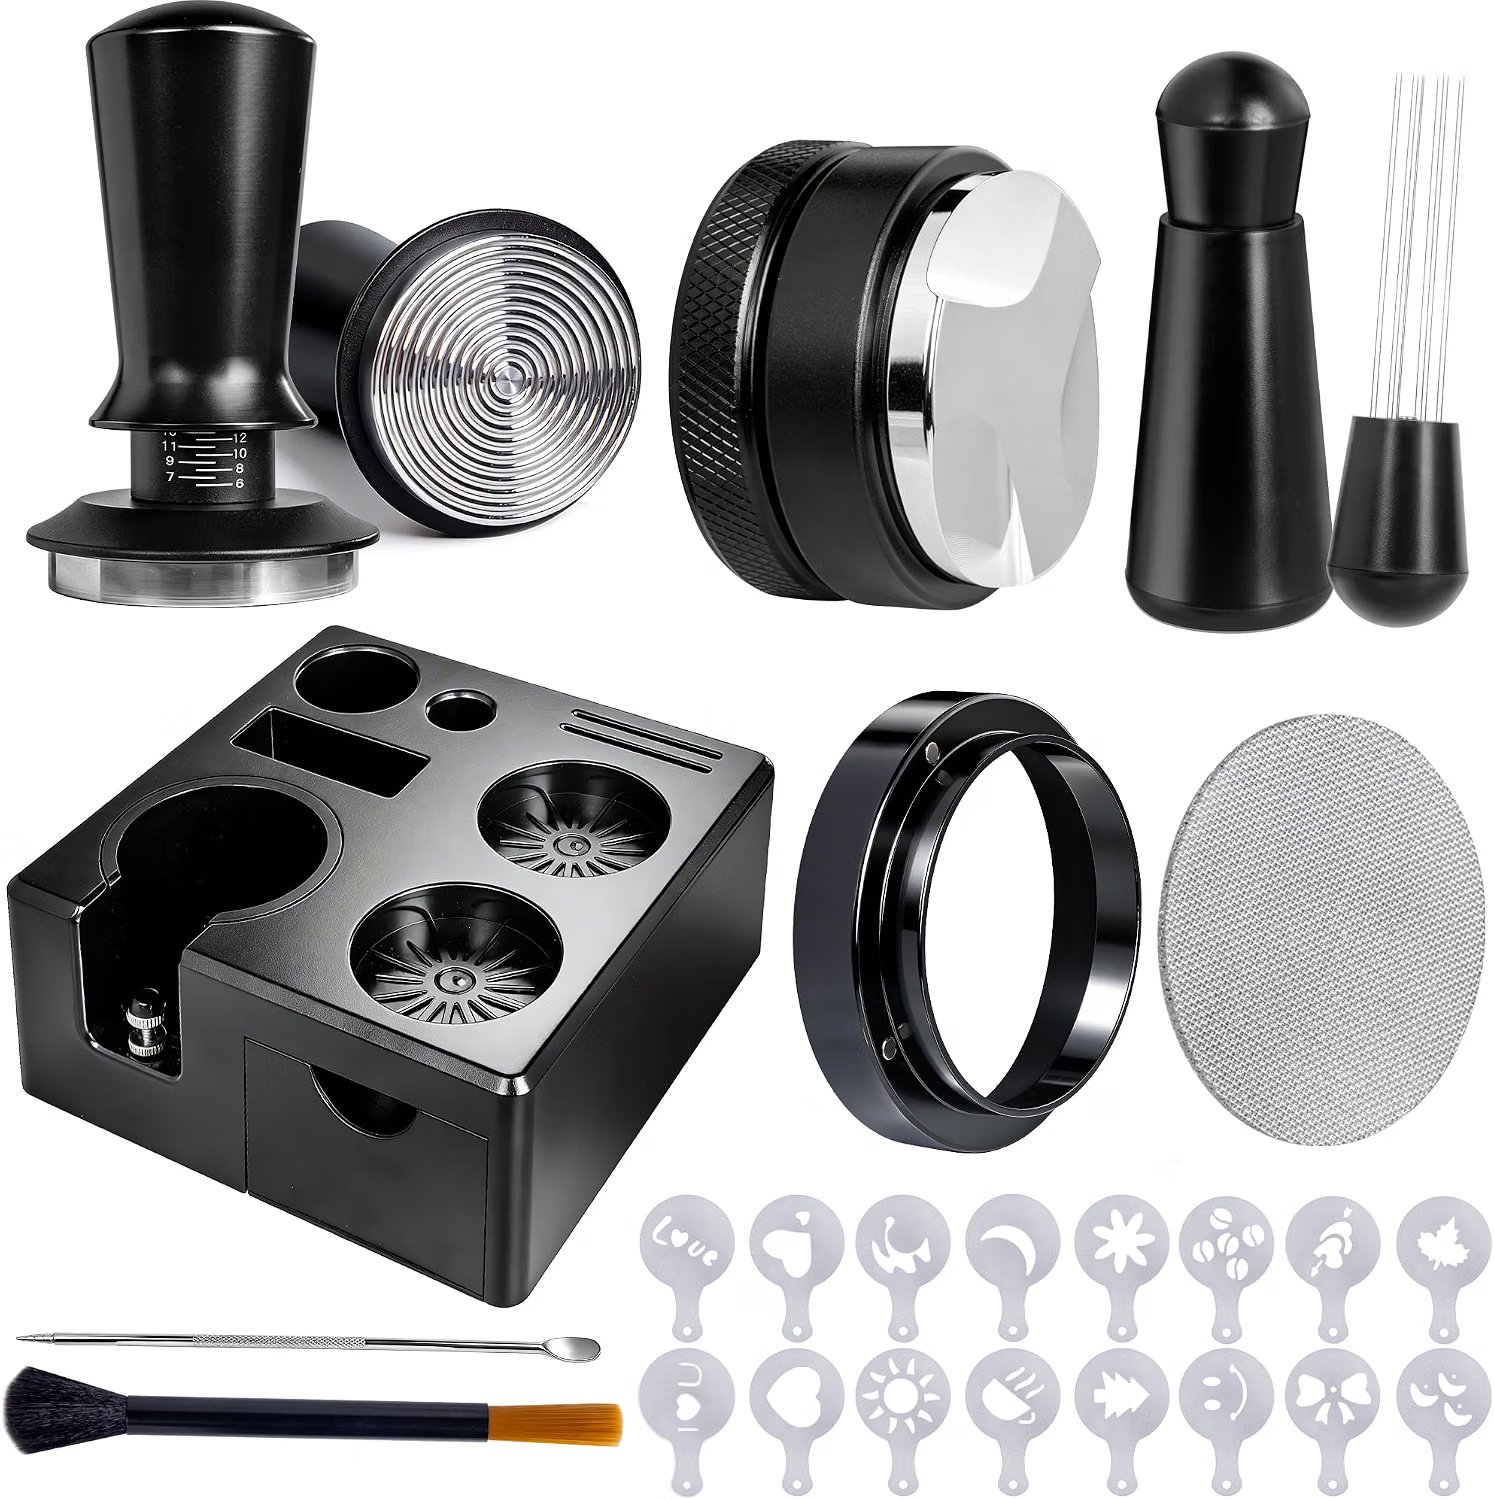
3. 9-Piece 51mm Espresso Accessories Kit with Tamper Station
The obvious size-specific option in your list for 51 mm users who also want a dedicated place to support the portafilter while tamping.
Buy it ifYour machine uses a compatible 51 mm basket and you want a multi-piece setup centered on a tamper station.
Skip it ifYou have not confirmed 51 mm compatibility, or you only need a single tamper rather than a nine-piece bundle.
A tamper station does not change extraction by itself, but it can make the physical action more stable by giving the portafilter a consistent resting point. That matters if your counter edge, portafilter spouts or wrist angle make it difficult to press straight down. The supplied product title identifies this as a nine-piece 51 mm espresso accessories kit with a tamper station.
Because the spreadsheet does not specify every component in the nine-piece bundle, this page does not invent them. Use the live Amazon listing to confirm what is included and whether the 51 mm sizing matches your exact basket. Nominal portafilter size is a starting point, not a substitute for checking fit.
Size family51 mm
Bundle9 pieces listed
StandTamper station included
What we like
Station can make the tamping position more stable
Size-specific option for 51 mm setups
Bundle format may reduce separate accessory purchases
What to consider
Exact nine-piece contents are not established by the supplied sheet
51 mm will not fit larger basket families
A station takes extra counter space
Specification basis: supplied Amazon listing title. The exact nine-piece contents are not established by the spreadsheet and should be checked live.
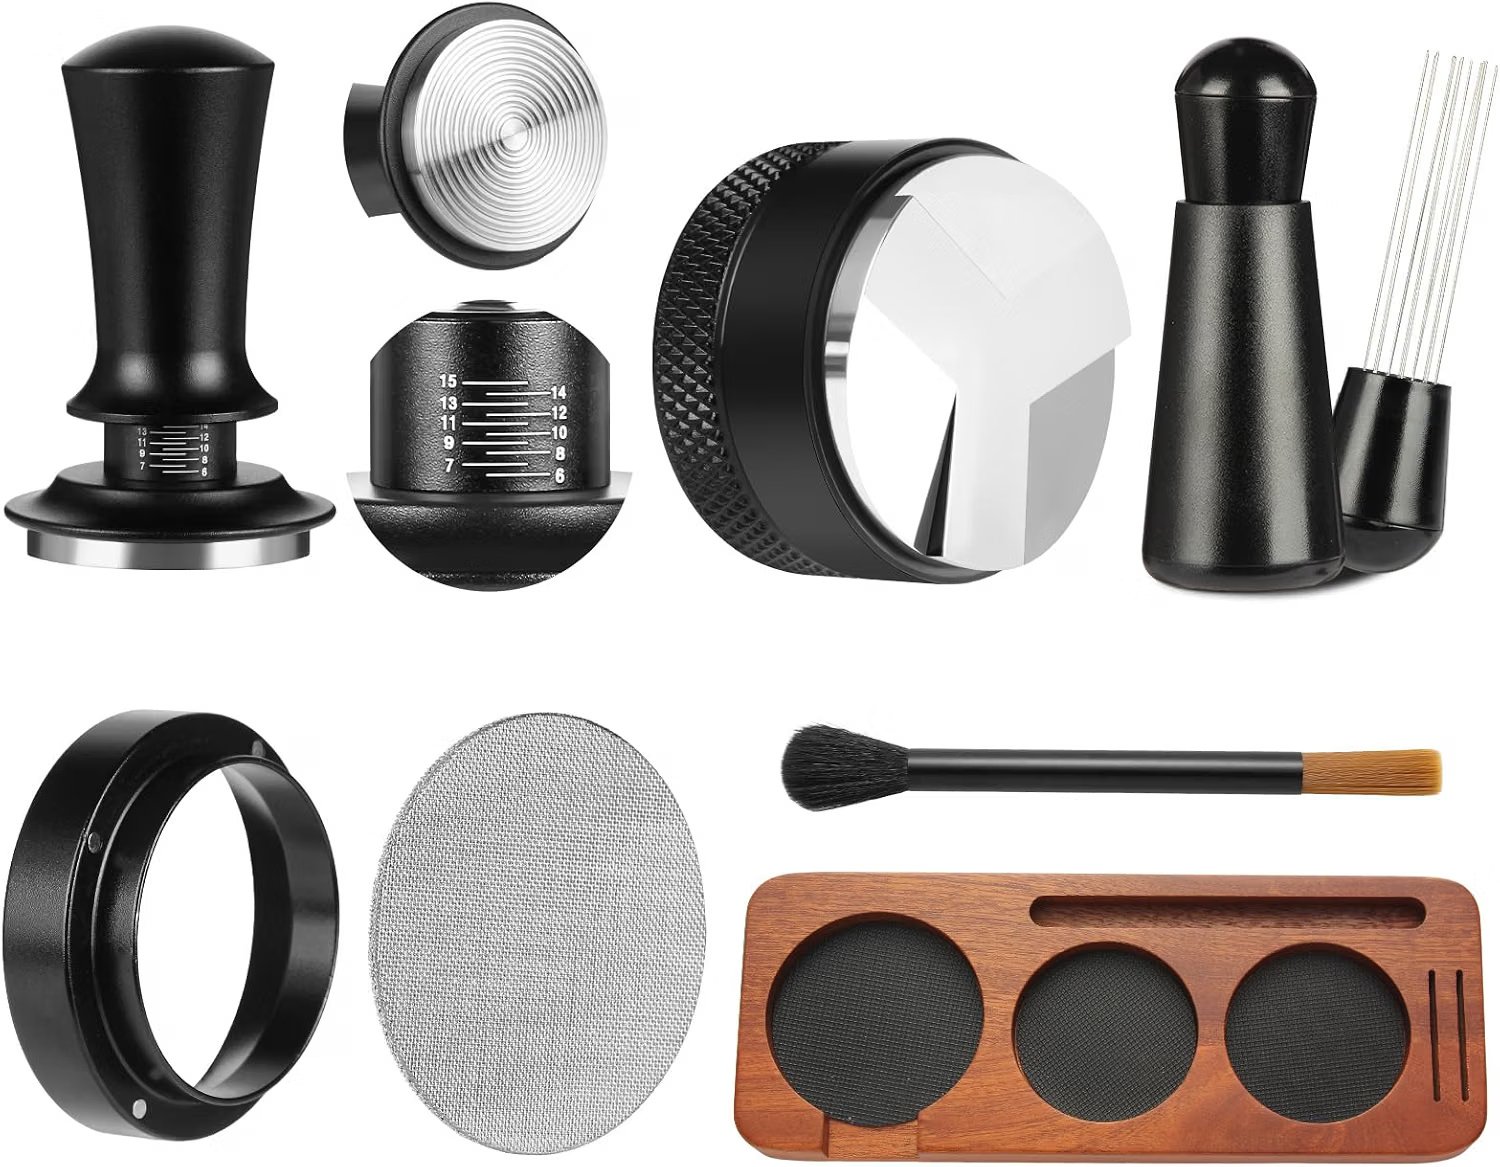
A workflow-oriented option for buyers who want WDT and tamping tools together, but the supplied title leaves important size and component details unspecified.
Buy it ifYou want WDT and tamping tools in one kit and are willing to verify the exact size and included accessories before checkout.
Skip it ifYou need a clearly documented 51 mm, 53.3 mm or 58 mm fit without checking the live listing.
WDT belongs before tamping: the goal is to break up clumps and distribute grounds more evenly, then use the tamper to create a level, consolidated puck. That sequence is more useful than trying to fix an uneven bed by pressing harder. This supplied listing is explicitly a seven-piece espresso accessories set with a WDT tool and tamper tools, which makes it relevant to that distribution-first workflow.
The limitation is documentation. Your spreadsheet title does not establish the tamper diameter, every included component, the materials, or the calibration method. For that reason, this is a “verify before buying” pick rather than a size-specific recommendation.
Bundle7 pieces listed
Prep stepWDT included
Tamper sizeVerify on listing
What we like
Combines distribution and tamping tools
Encourages the correct prep order: distribute, then tamp
May suit buyers starting without any puck-prep accessories
What to consider
Tamper diameter is not stated in the supplied title
Exact contents are not established here
Harder to recommend without model-specific compatibility
Specification basis: supplied Amazon listing title only. Confirm tamper size, materials and exact contents on the live listing.
A completely different answer to tamping consistency: replace the manual tamp with a machine that lists auto tamping in a 58 mm workflow.
Buy it ifYour real goal is to remove manual tamping from the routine and you are already shopping for a full espresso machine with grinder and milk system.
Skip it ifYou only need a better tamper, or you prefer manual control over distribution, dose and puck compression.
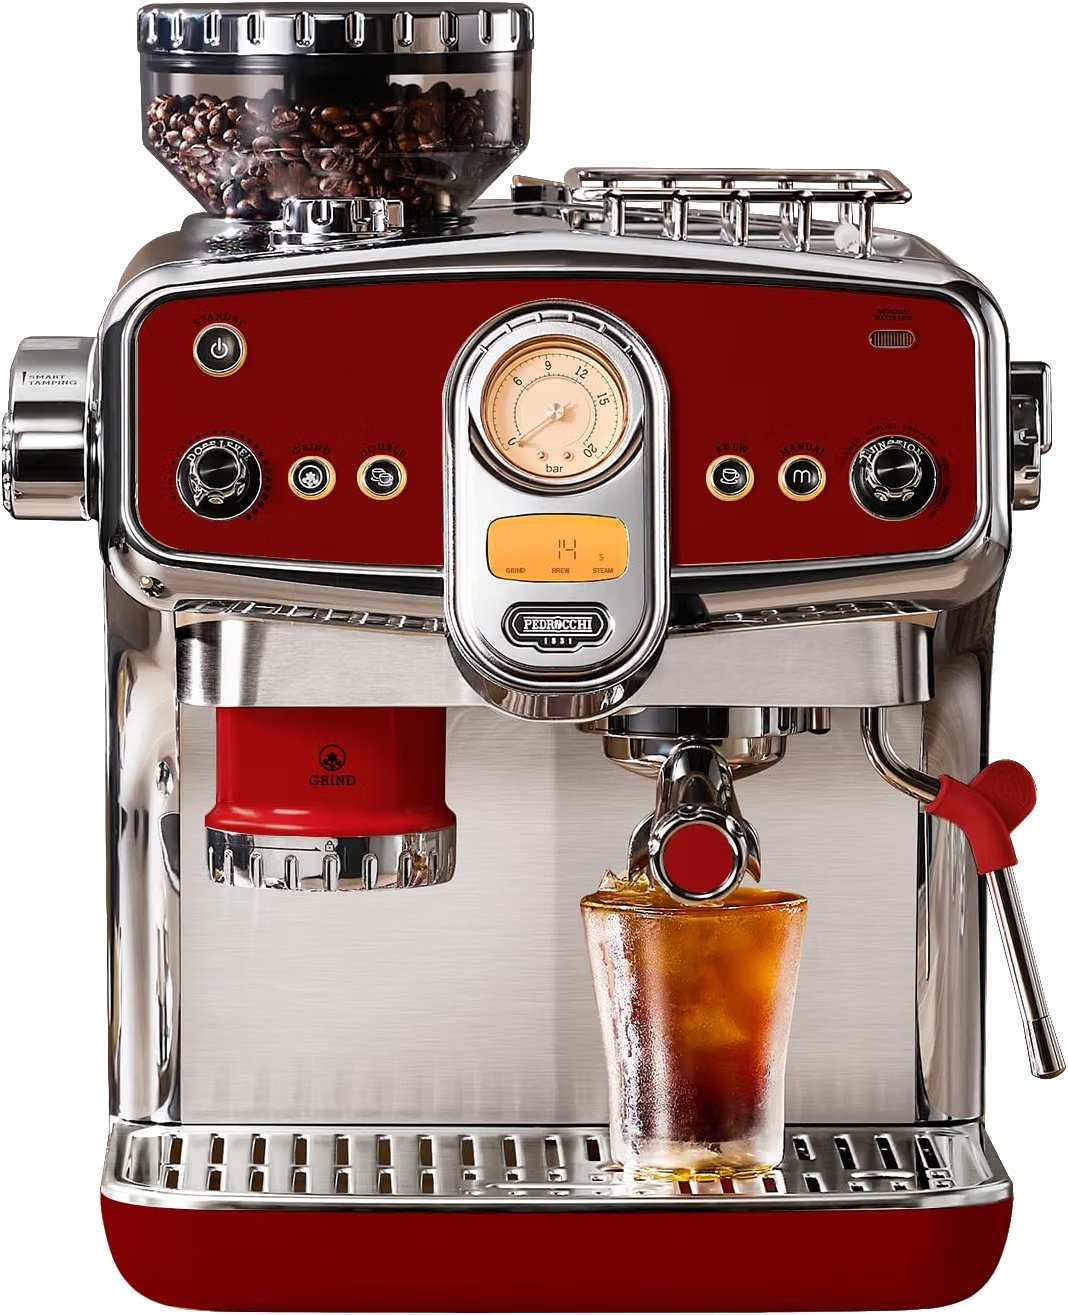
Some buyers searching for “espresso tamping” are actually trying to solve inconsistency rather than buy a hand tool. This supplied machine listing includes auto tamping and a 58 mm format, along with a grinder, milk frother, dual-pump design, PID, 35 grind settings and an espresso-to-cold-brew workflow in the title. It is therefore the most relevant hands-off alternative in your product sheet.
It is not comparable in cost or complexity to a tamper. Buying a full machine just to avoid tamping makes little sense if you are otherwise happy with your current setup. Consider it only when you are replacing the espresso machine anyway and automation is a priority. The spreadsheet does not establish independent performance testing for its pressure, PID or auto-tamping claims.
TampingAuto tamping listed
Portafilter58 mm listed
Grinder35 settings listed
What we like
Removes the manual tamping step
58 mm format is listed
Integrates grinder and milk workflow in one machine
What to consider
Far more expensive and complex than a tamper
Performance claims are not independently verified here
Not useful if you only need a puck-prep accessory
Specification basis: supplied Amazon listing title. Auto-tamping and machine-performance claims should be confirmed on the current listing.
Start with your machine and basket—not a generic tamper label. Breville sells 54 mm tampers for many models, while precision third-party tools may use 53.3 mm to fit inside that basket family. Confirm your exact machine or measure before buying.
Do you need calibration or self-leveling?
A basic flat tamper works if your technique is consistent. A spring-loaded or self-leveling design is useful when your main problem is repeatability or keeping the face square to the puck.
Do you already own WDT and a funnel?
If yes, a dedicated tamper is usually the cleaner purchase. If not, a kit can build the whole prep station at once, but only if the included diameter matches your basket.
Are you trying to remove tamping entirely?
Auto-tamping machines can do that, but they change the entire espresso workflow and budget. Buy one because you want the whole machine—not because a $30–$60 hand tool feels inconvenient.
Quick answers
Common espresso tamping questions
How hard should I tamp espresso?
Use firm, repeatable pressure until the coffee bed is fully compacted, then stop. There is no need to keep adding force once the puck is compressed. Calibrated tools use different target ranges, so treat the number as a consistency aid rather than a universal recipe.
Is 30 pounds of tamping pressure required?
No universal rule makes 30 pounds mandatory. Some calibrated tampers target about that figure, while other manufacturer tools use lower repeatable ranges. Levelness, basket fit, distribution, grind and dose matter more than hitting one exact pound number.
Why does a 54 mm Breville use a 53.3 mm tamper?
“54 mm” describes the portafilter and basket family, while a precision tamper must be slightly smaller than the basket’s inside diameter so it can enter without binding. That is why some third-party tools for Breville 54 mm baskets are sold as 53.3 mm.
Should I use WDT before or after tamping?
Before. WDT is used to break up clumps and distribute grounds. After the bed is even, tamp once to consolidate it. Stirring or redistributing after the final tamp would disturb the puck you just prepared.
Should I twist the tamper after pressing?
A twist or “polish” is not required for a good tamp and can make the process less repeatable. A straight, level press followed by a clean lift is the simpler default.
Can tamping fix a shot that runs too fast?
Not reliably. Keep tamping consistent and adjust grind size, dose or both. If you must press dramatically harder to slow a shot, the grind is usually the better variable to change.
Recommended next
Continue your research
Build the rest of your puck-prep workflow with the most relevant published Espresso Finder guides.